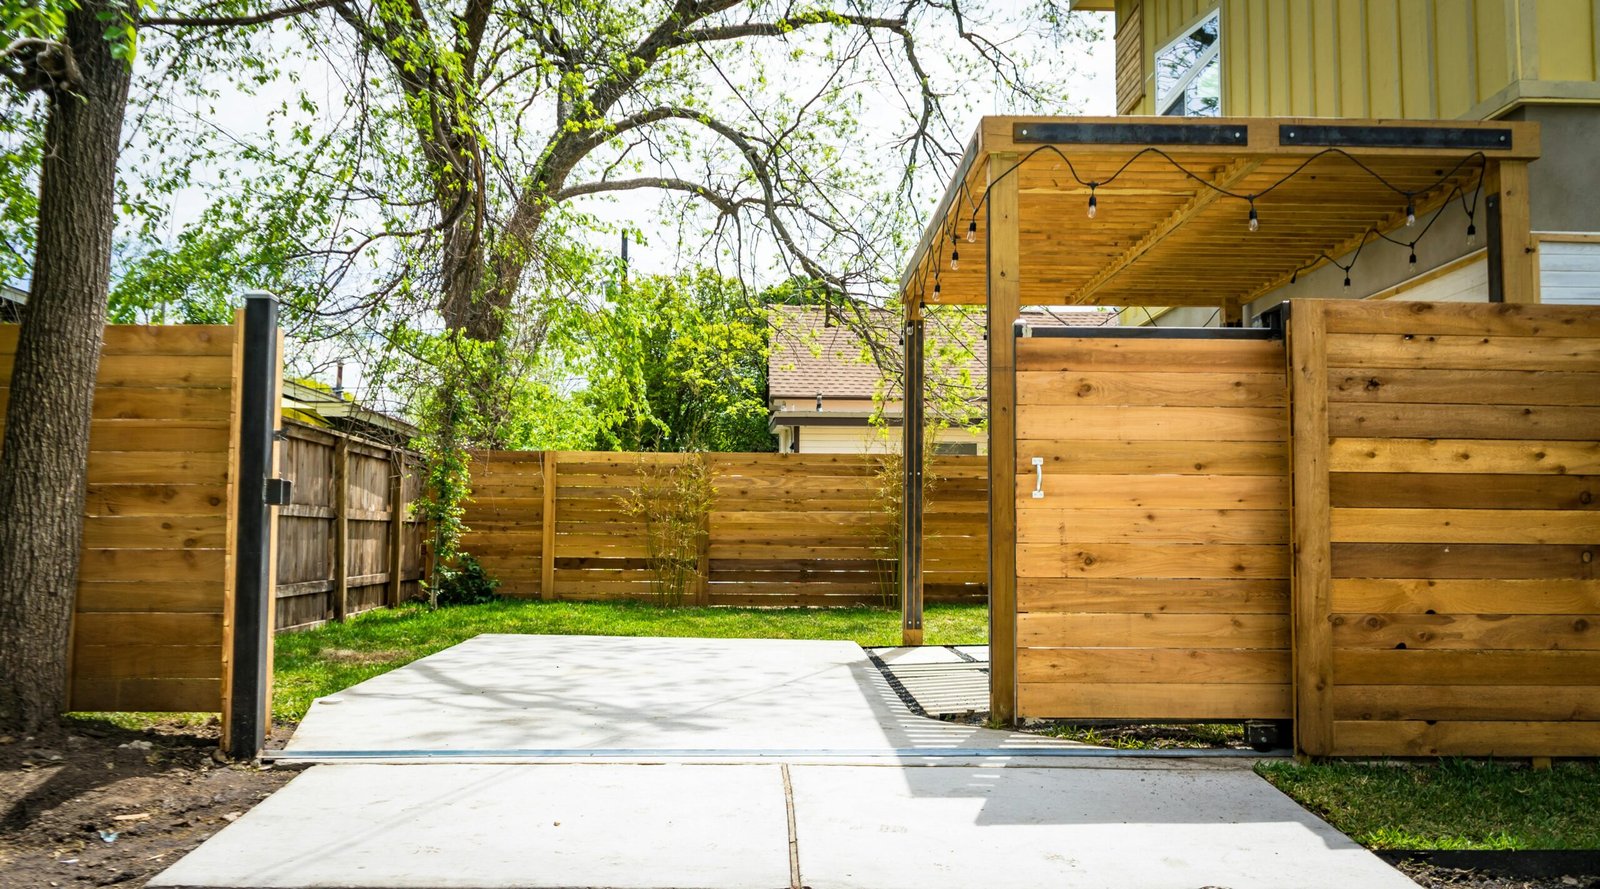
A wooden fence can dramatically improve the look of your house, frame your porch, and protect your property. Over time, though, weather, rain, and stains can cause peeling, fading, and deterioration. The good news is that with the right painting process, you can restore your wood fence and give it a durable finish that will last for years.
In this step by step guide, we’ll share the best way to paint a wood fence, how to choose the best color, and why professional painters like us achieve reliable, long-lasting results.
Why Painting Your Wooden Fence Matters
Painting your fence is not just about aesthetics. It’s also about extending the life of your investment. A properly applied coat of specially formulated exterior paint or deck coating helps:
- Protect against moisture, pests, and UV rays.
- Enhance your yard with a fresh, smooth look.
- Prevent peeling and cracking on vertical panels and horizontal panels.
- Increase your property’s value with a nice exterior.
Without proper attention, your fence may need expensive repairs. That’s why finding the best way to do the job right matters.
Preparing a Wood Fence for Painting
Prep is half the battle in fence painting. Skipping it can lead to uneven coverage and shorter durability. Here are the key steps:
- Clean the surfaces
- Use power washers or scrub with soap and water.
- Remove dirt, mildew, and old stains.
- Repair and sand
- Fix broken boards or loose nails.
- Smooth rough areas with sandpaper for better paint adhesion.
- Protect your site
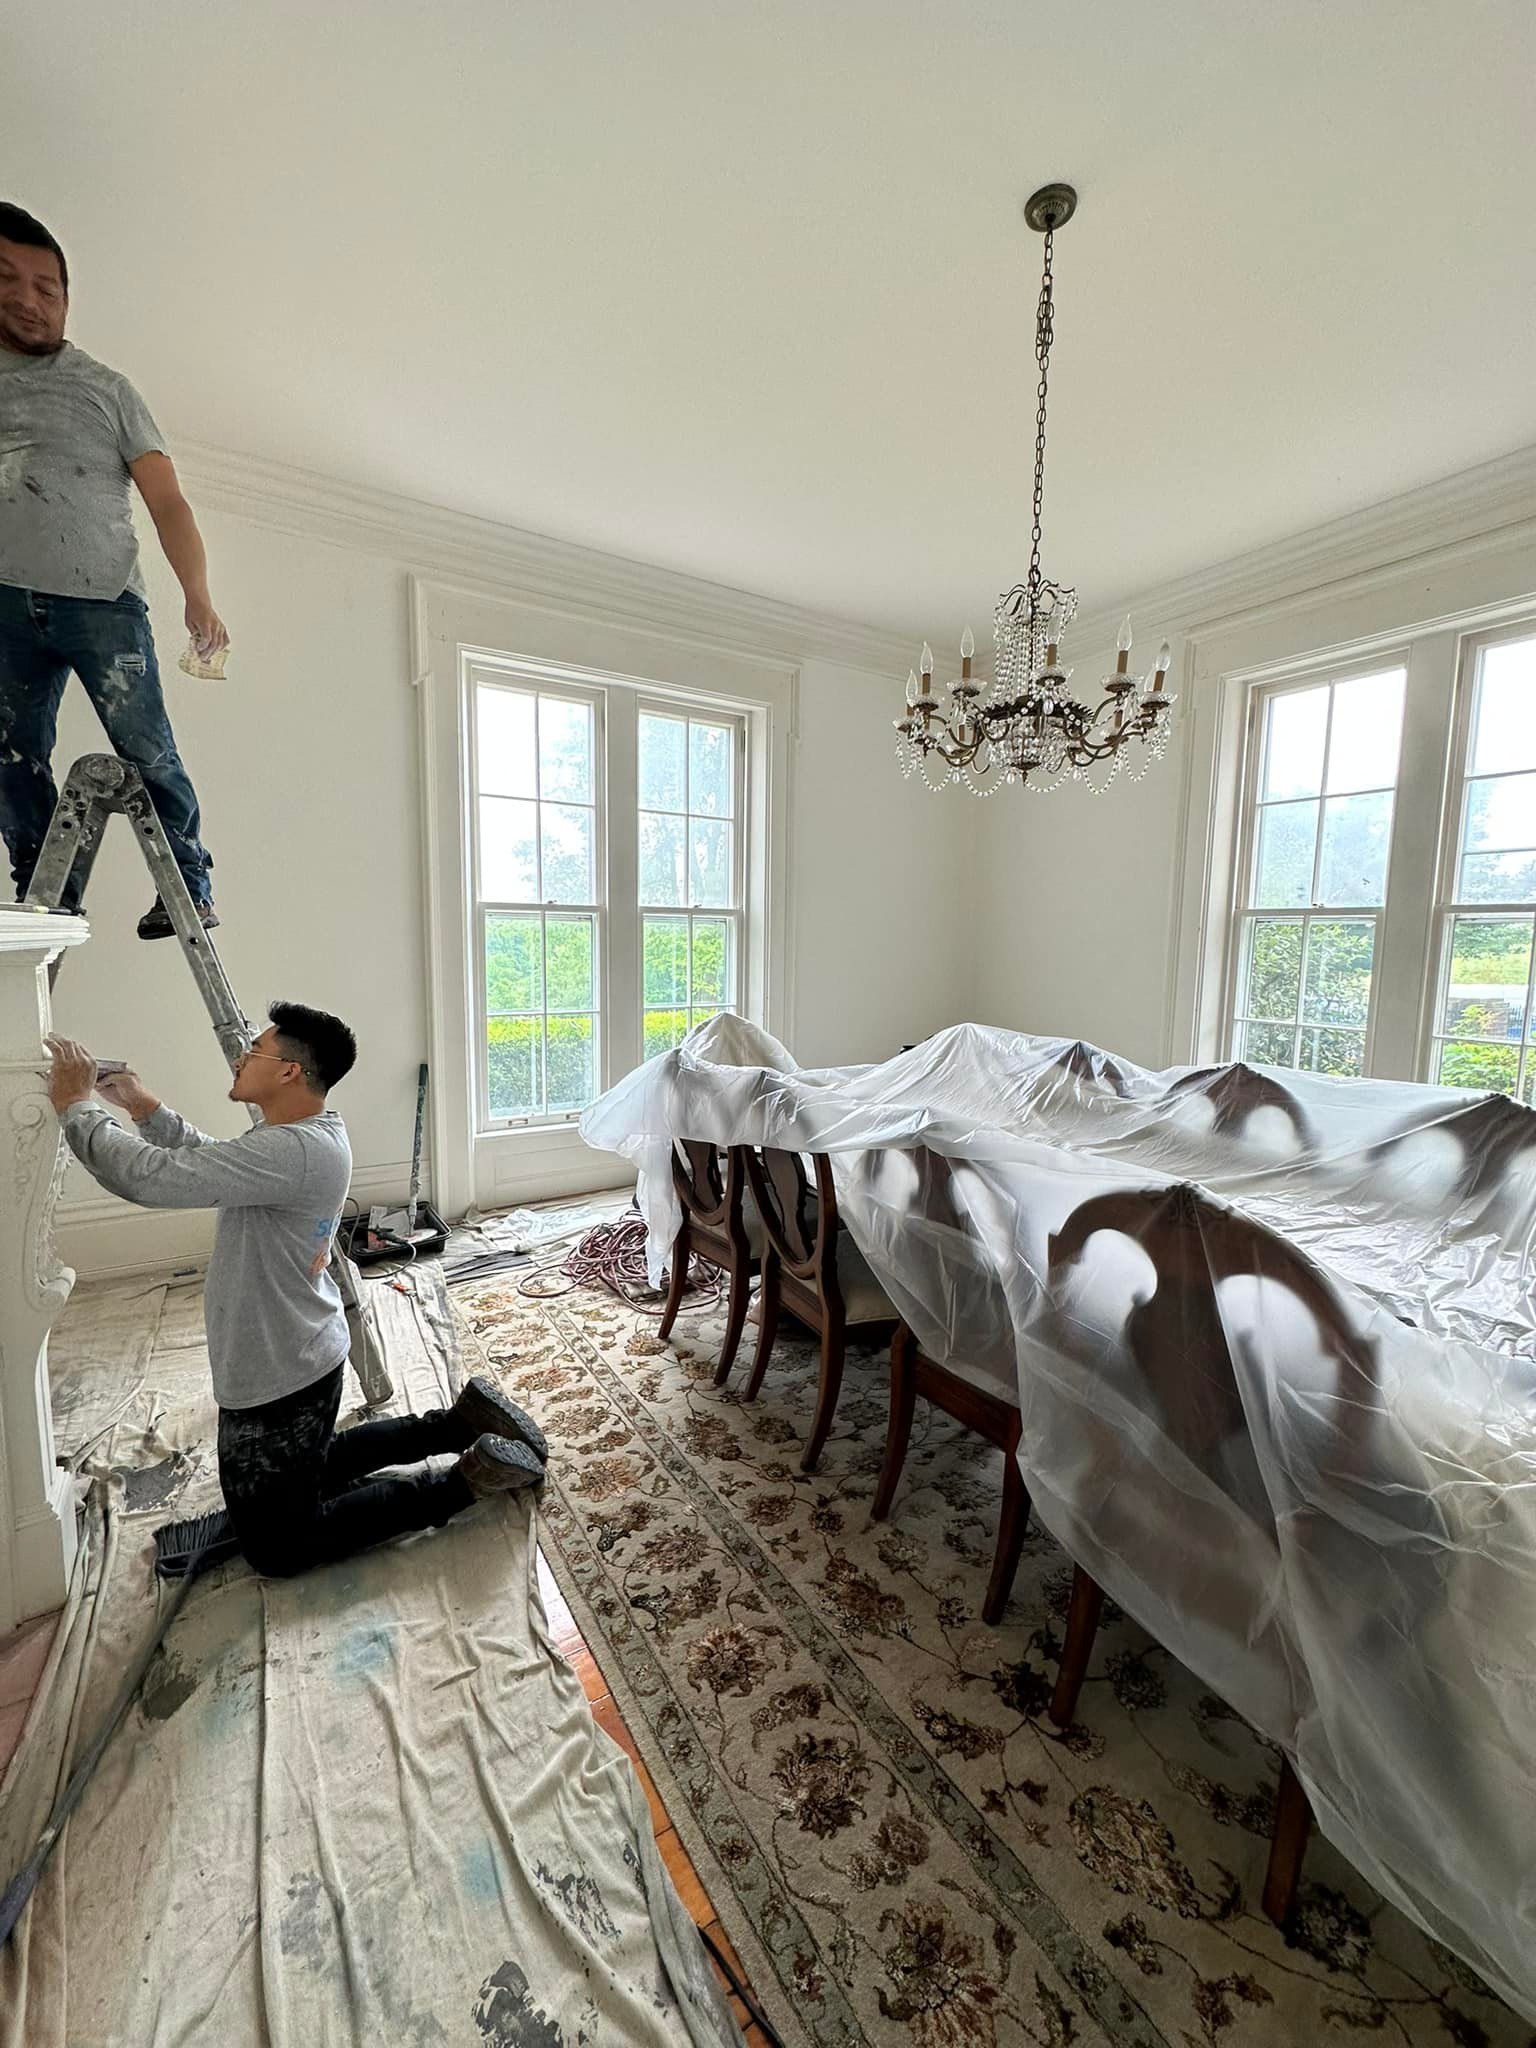
- Lay plastic sheeting and drop cloths to cover grass, landscaping, and walkways.
- Prime
- Apply a quality primer to create a strong foundation.
- This step helps the first coat adhere better and prevents peeling later.
Following these instructions ensures you’re ready to apply the paint efficiently and achieve a successful project.
The Best Way to Paint a Wood Fence Step by Step
The painting process requires the right tools and careful planning. Here’s the proven step by step guide:
1. Select the Right Tools
- Paint sprayer for large areas and even coverage.
- Roller for horizontal strokes on wide boards.
- Paintbrush for edges, corners, and trim.
- Plastic sheeting and tape to protect your porch and house siding.
2. Apply the First Coat
- Use long, even strokes on vertical panels.
- For horizontal panels, work in small sections to avoid drips.
- Allow the first coat to become completely dry before adding more.
3. Apply the Second Coat
- Always apply two coats for a durable finish.
- A second coat enhances color depth and protects the wood.
- Let each coat dry thoroughly based on weather and product instructions.
4. Finishing Touches
- Check for missed spots and continue to fill in with a paintbrush.
- Remove plastic sheeting and tape carefully.
- Review the results to ensure a smooth and professional job.
Choosing the Right Paint and Deck Coating
Selecting the right product determines the success of your project. Consider these factors:
- Deck coating and exterior paint are specially formulated to handle outdoor wear.
- Look for brands that offer UV protection, mildew resistance, and different sheens.
- Check availability of colors and review product performance.
- Match the best color to your house, landscape, or country style.
- Use stains for a natural look or paint for bold, solid color.
Professional painters know which products perform best and will recommend solutions based on climate, forecast, and surface type.
DIY vs. Professional Painting
You might wonder if you should take on this project yourself. While DIY videos and tips exist, there are clear advantages to hiring reliable professionals:
Common DIY Challenges
- Missed prep steps like sanding or priming.
- Uneven coverage due to improper tools.
- Not allowing the first coat to dry fully before applying the second coat.
- Poor durability and early peeling.
Professional Advantages
- Efficient painting process using commercial-grade paint sprayers and rollers.
- Expert knowledge to determine the best way for your fence type.
- Guaranteed durable finish and long-lasting results.
- Time savings and stress-free job completion.
When you hire us, you get the best way to paint a wood fence done right the first time.
Maintenance Tips for a Long-Lasting Fence Finish
Even the best paint job requires care. Here’s how to keep your wooden fence looking great:
- Clean gently with water once or twice a year.
- Watch for peeling, stains, or fading on vertical panels.
- Apply a fresh coat of paint every few years for continued protection.
- Check forecast before scheduling touch-ups to avoid bad weather.
- Store leftover paint properly to apply small fixes as needed.
Finding the Best Color for Your Fence
The best color depends on your style, site, and landscaping. Here are some tips:
- Neutral tones like white, beige, and gray enhance a classic house look.
- Bold colors like navy or forest green add character to country settings.
- Black or dark brown creates modern contrast.
- Always review samples outdoors in natural light before you select.
For inspiration, visit Benjamin Moore’s color collection.
Why We Are the Best Choice for Fence Painting
At Paint & Profits, we combine expert knowledge, premium products, and efficient solutions to deliver exceptional results. Our proven painting process means your fence will have a durable finish, the right coat, and the best color to complement your house.
When you’re searching for the best way to paint a wood fence, trust the professionals who have mastered every detail from prep to second coat.
Check out our exterior painting services and deck painting services to learn more.
Conclusion
A well-painted wooden fence adds beauty, protection, and value to your property. By following the step by step guide and choosing the right paint, primer, and deck coating, you can achieve a smooth, long-lasting result. But the easiest, most reliable best way is to hire professionals who guarantee success.
Ready to transform your fence? Contact us today and discover how the best way to paint a wood fence also saves you time, money, and stress.
[Link Contact Form]


